These are the steps I arrived at in order to install a Windows 10 Guest on an Ubuntu 18.04 host using virt-manager to install a Qemu VM with KVM acceleration and VirtIO drivers.
Prerequisites
Create a directory to work in and install the tools we will need. The virtio-win ISO image contains the drivers we will need in order to make Windows bootable.
1 | mkdir windows |
You will also need to copy your Windows 10 installer ISO into your windows/ directory.
Disk Setup
This creates a blank image that will be attached as a virtual hard drive to the Windows instance. We use qcow2 because it supports some nice extensions above those on the raw format, like thin provisioning of storage.
1 | qemu-img create -f qcow2 windows_10_x64.qcow2 75G |
Creating the VM
Call virt-install to create the VM.
1 | virt-install \ |
Verify the running VMs with the virsh command:
1 | ~/windows $ virsh list |
Connecting to the VM
Now that the VM is running, you need to connect to it and install Windows. VNC to the host machine on port 5900 using the password you specified in the virt-install command. You did change that password, didn’t you?
On Mac OS you can use open to call the built in VNC client.
1 | open vnc://<host>:5900 |
Windows Install
There will be a few extra steps to install Windows above and beyond a normal install. Because the accelerated VirtIO drivers required to interface with the virtual disk controller are not bundled with Windows, we need to load them into the installer before it will be able to talk to the virtual hard drive.
When asked to do an Upgrade or a Custom install, select Custom Install.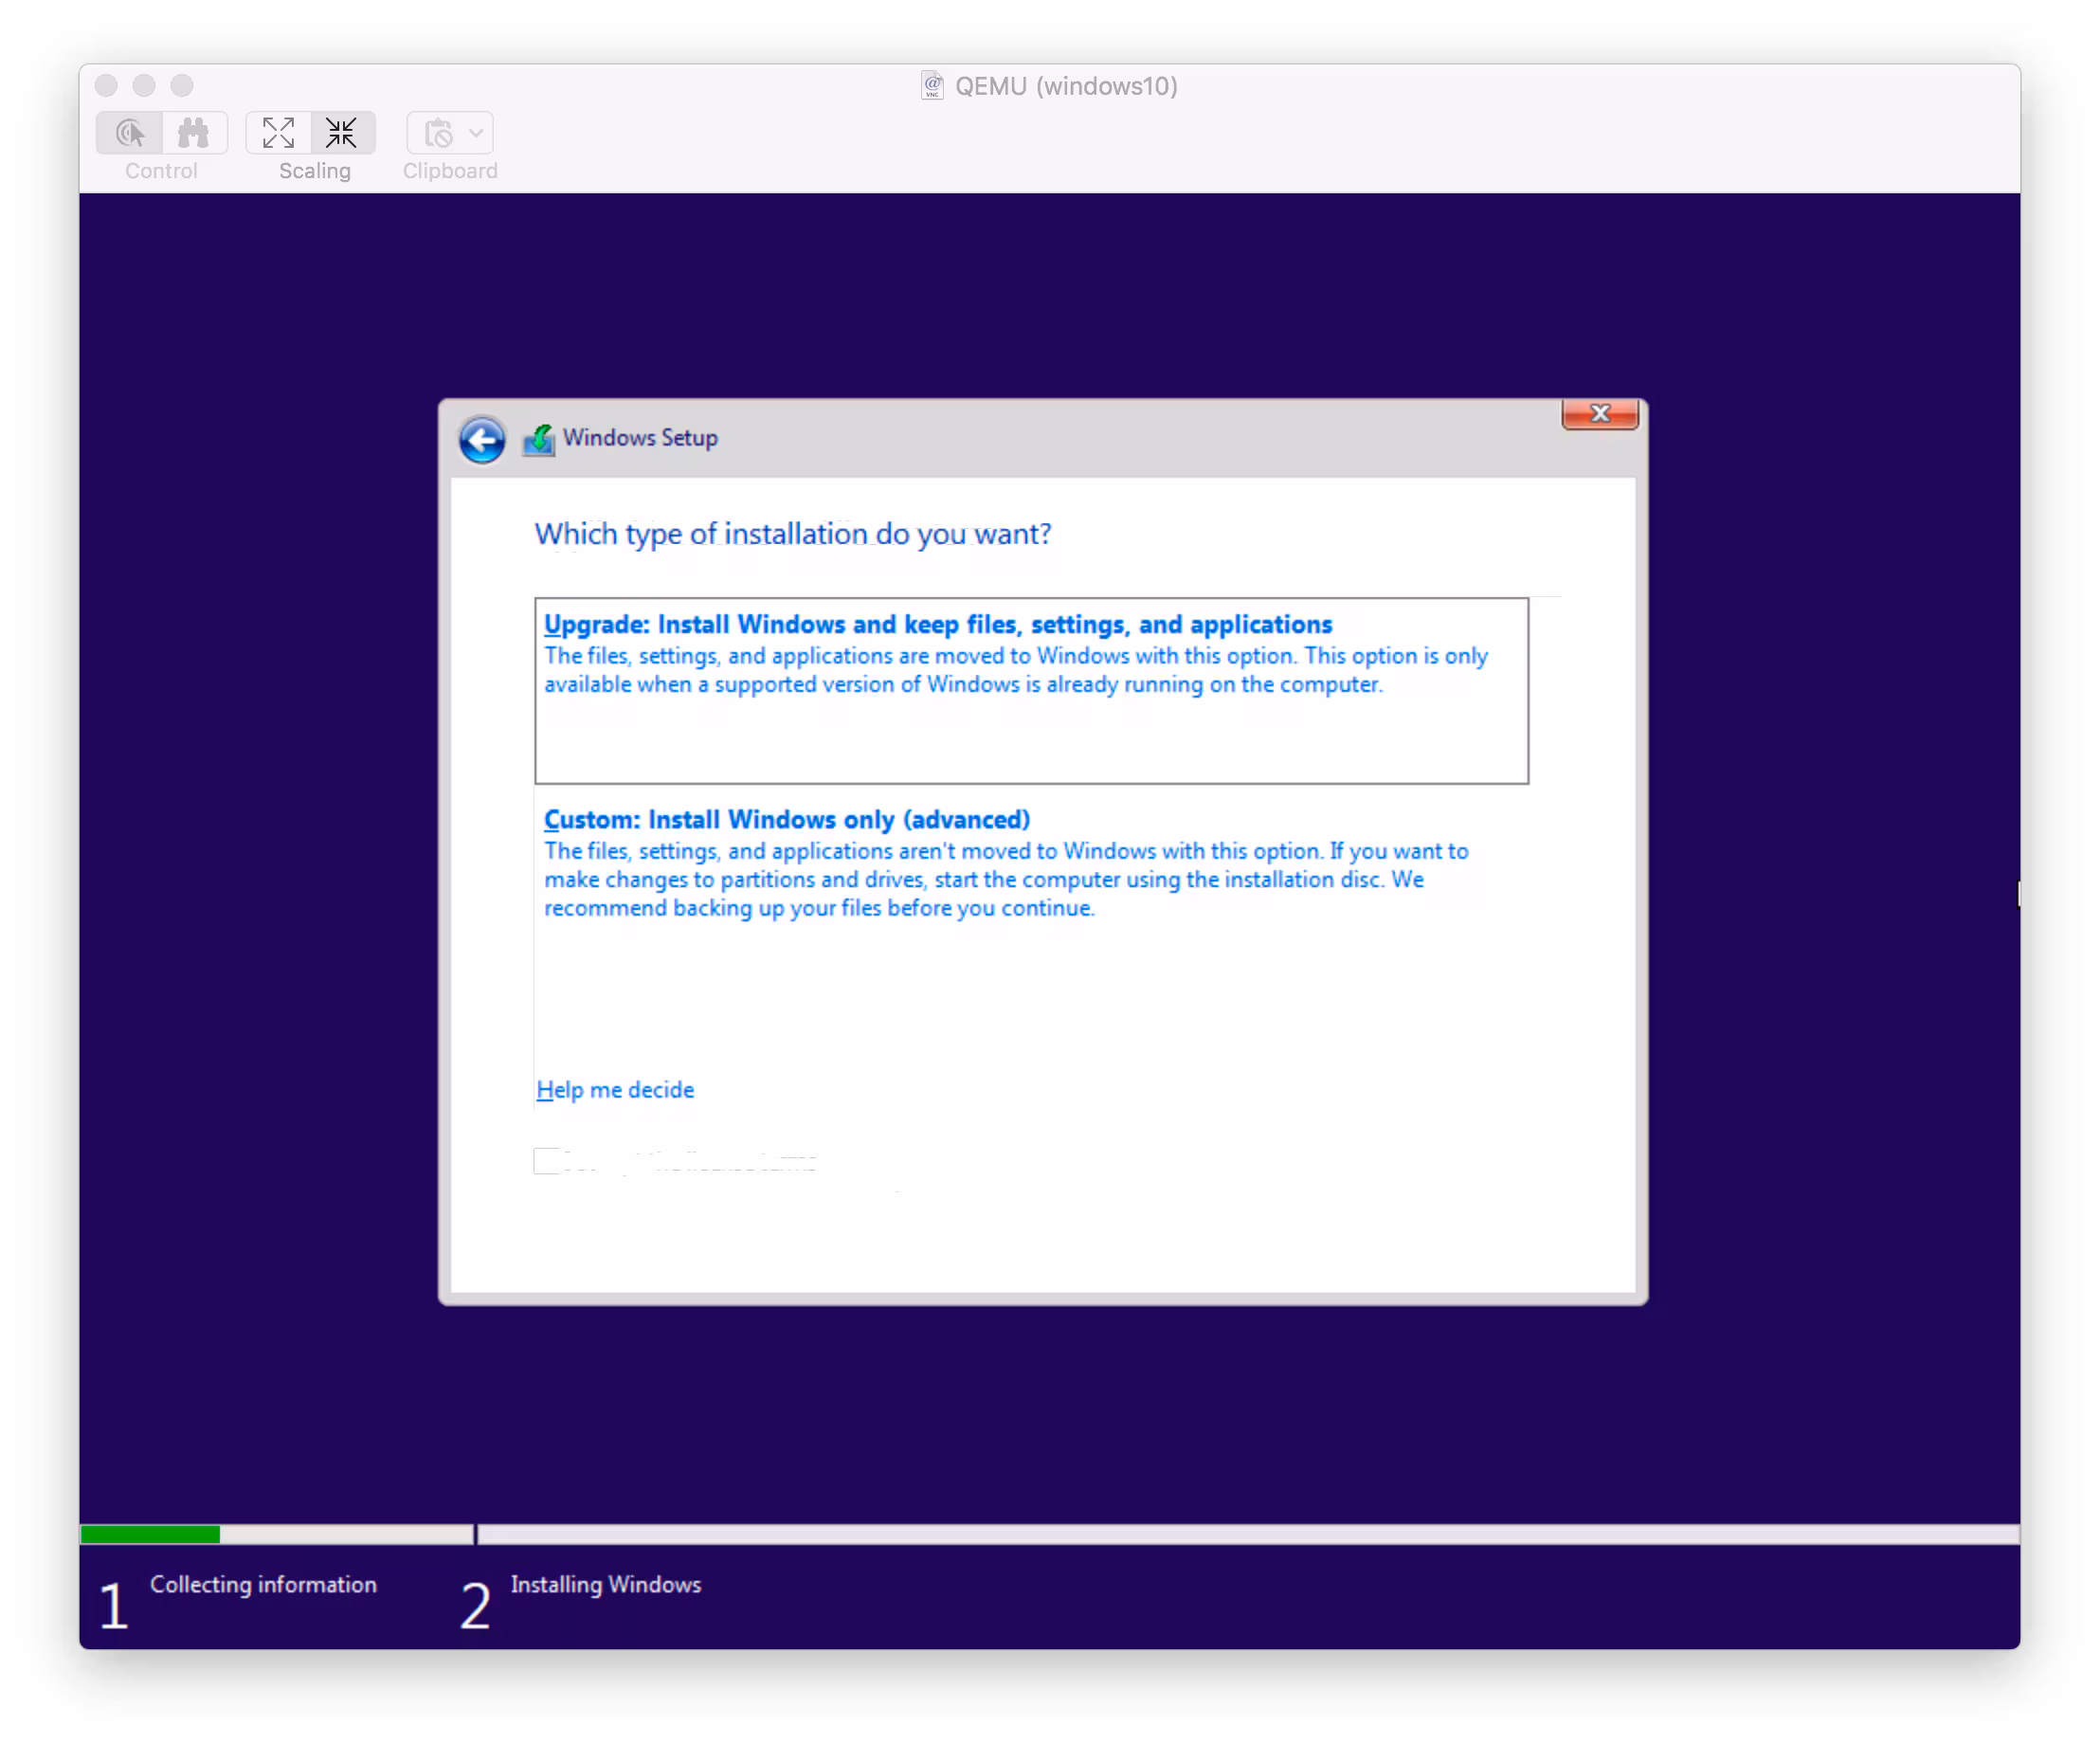
Select Load Driver to point the installer to your driver file.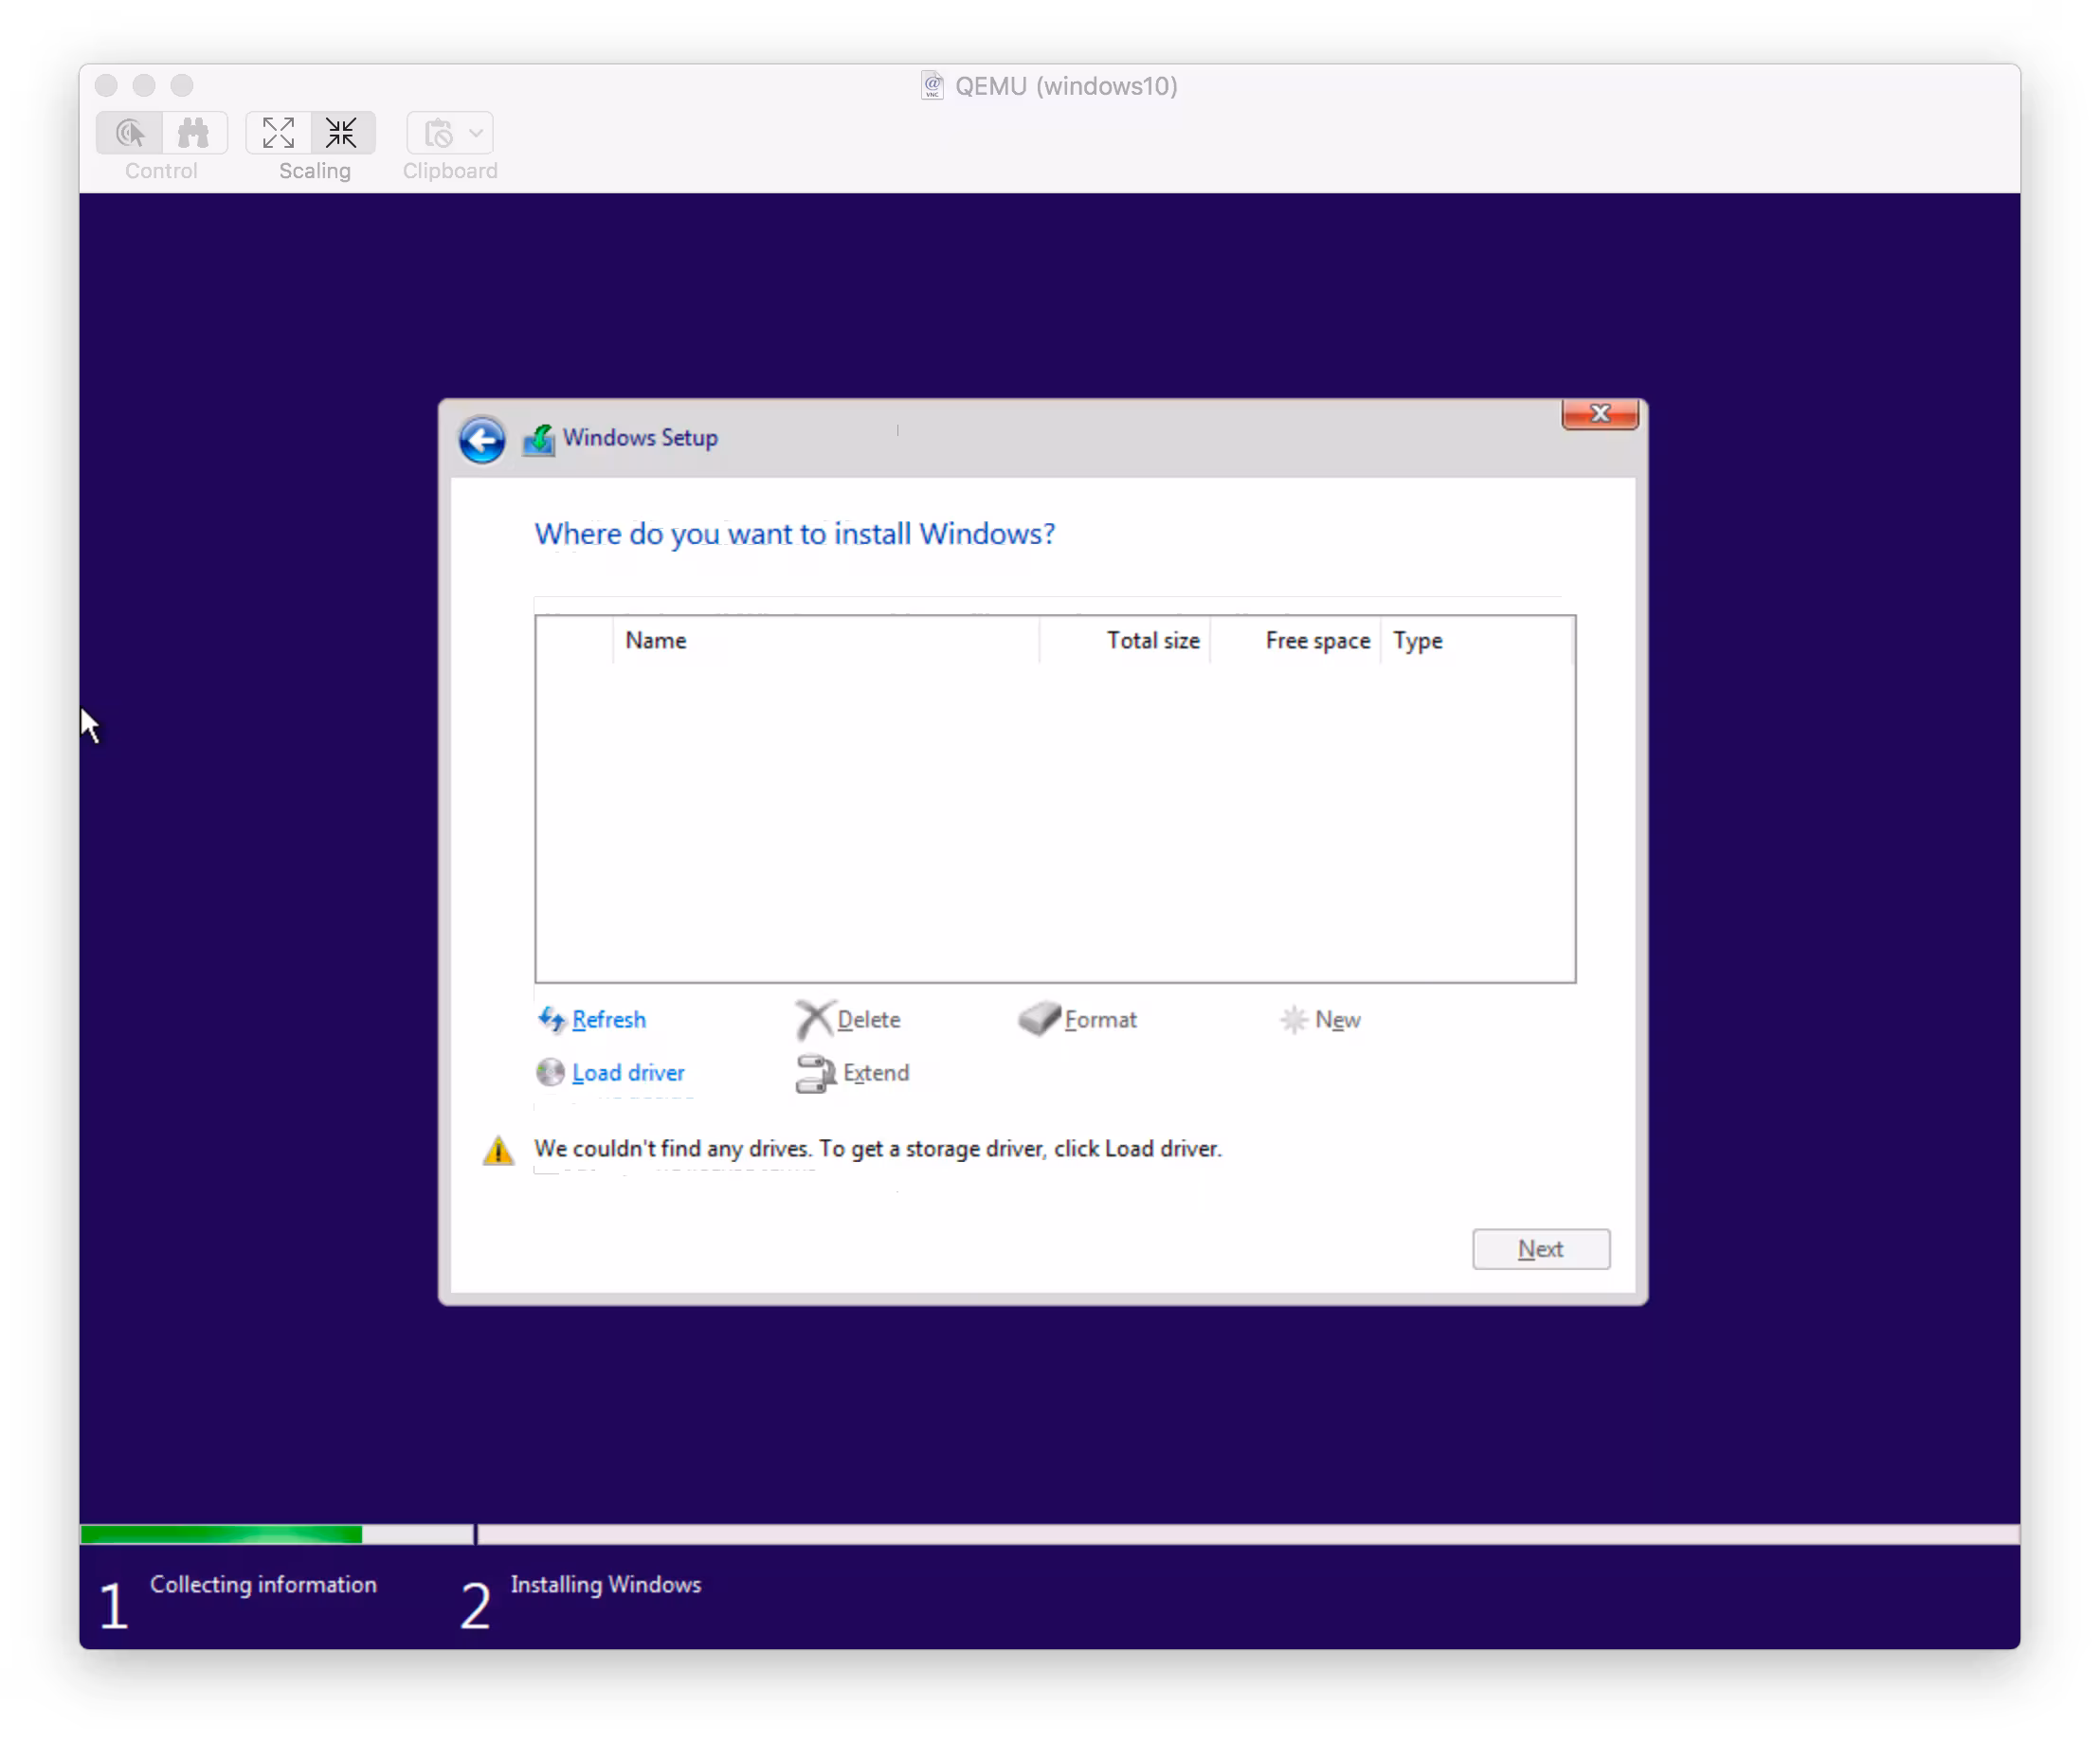
Navigate to E:\viostor\w10\amd64
There should only be one option, the VirtIO SCSI Controller.
The installer should now see your virtual disk. Hit next to let Windows automatically partition it.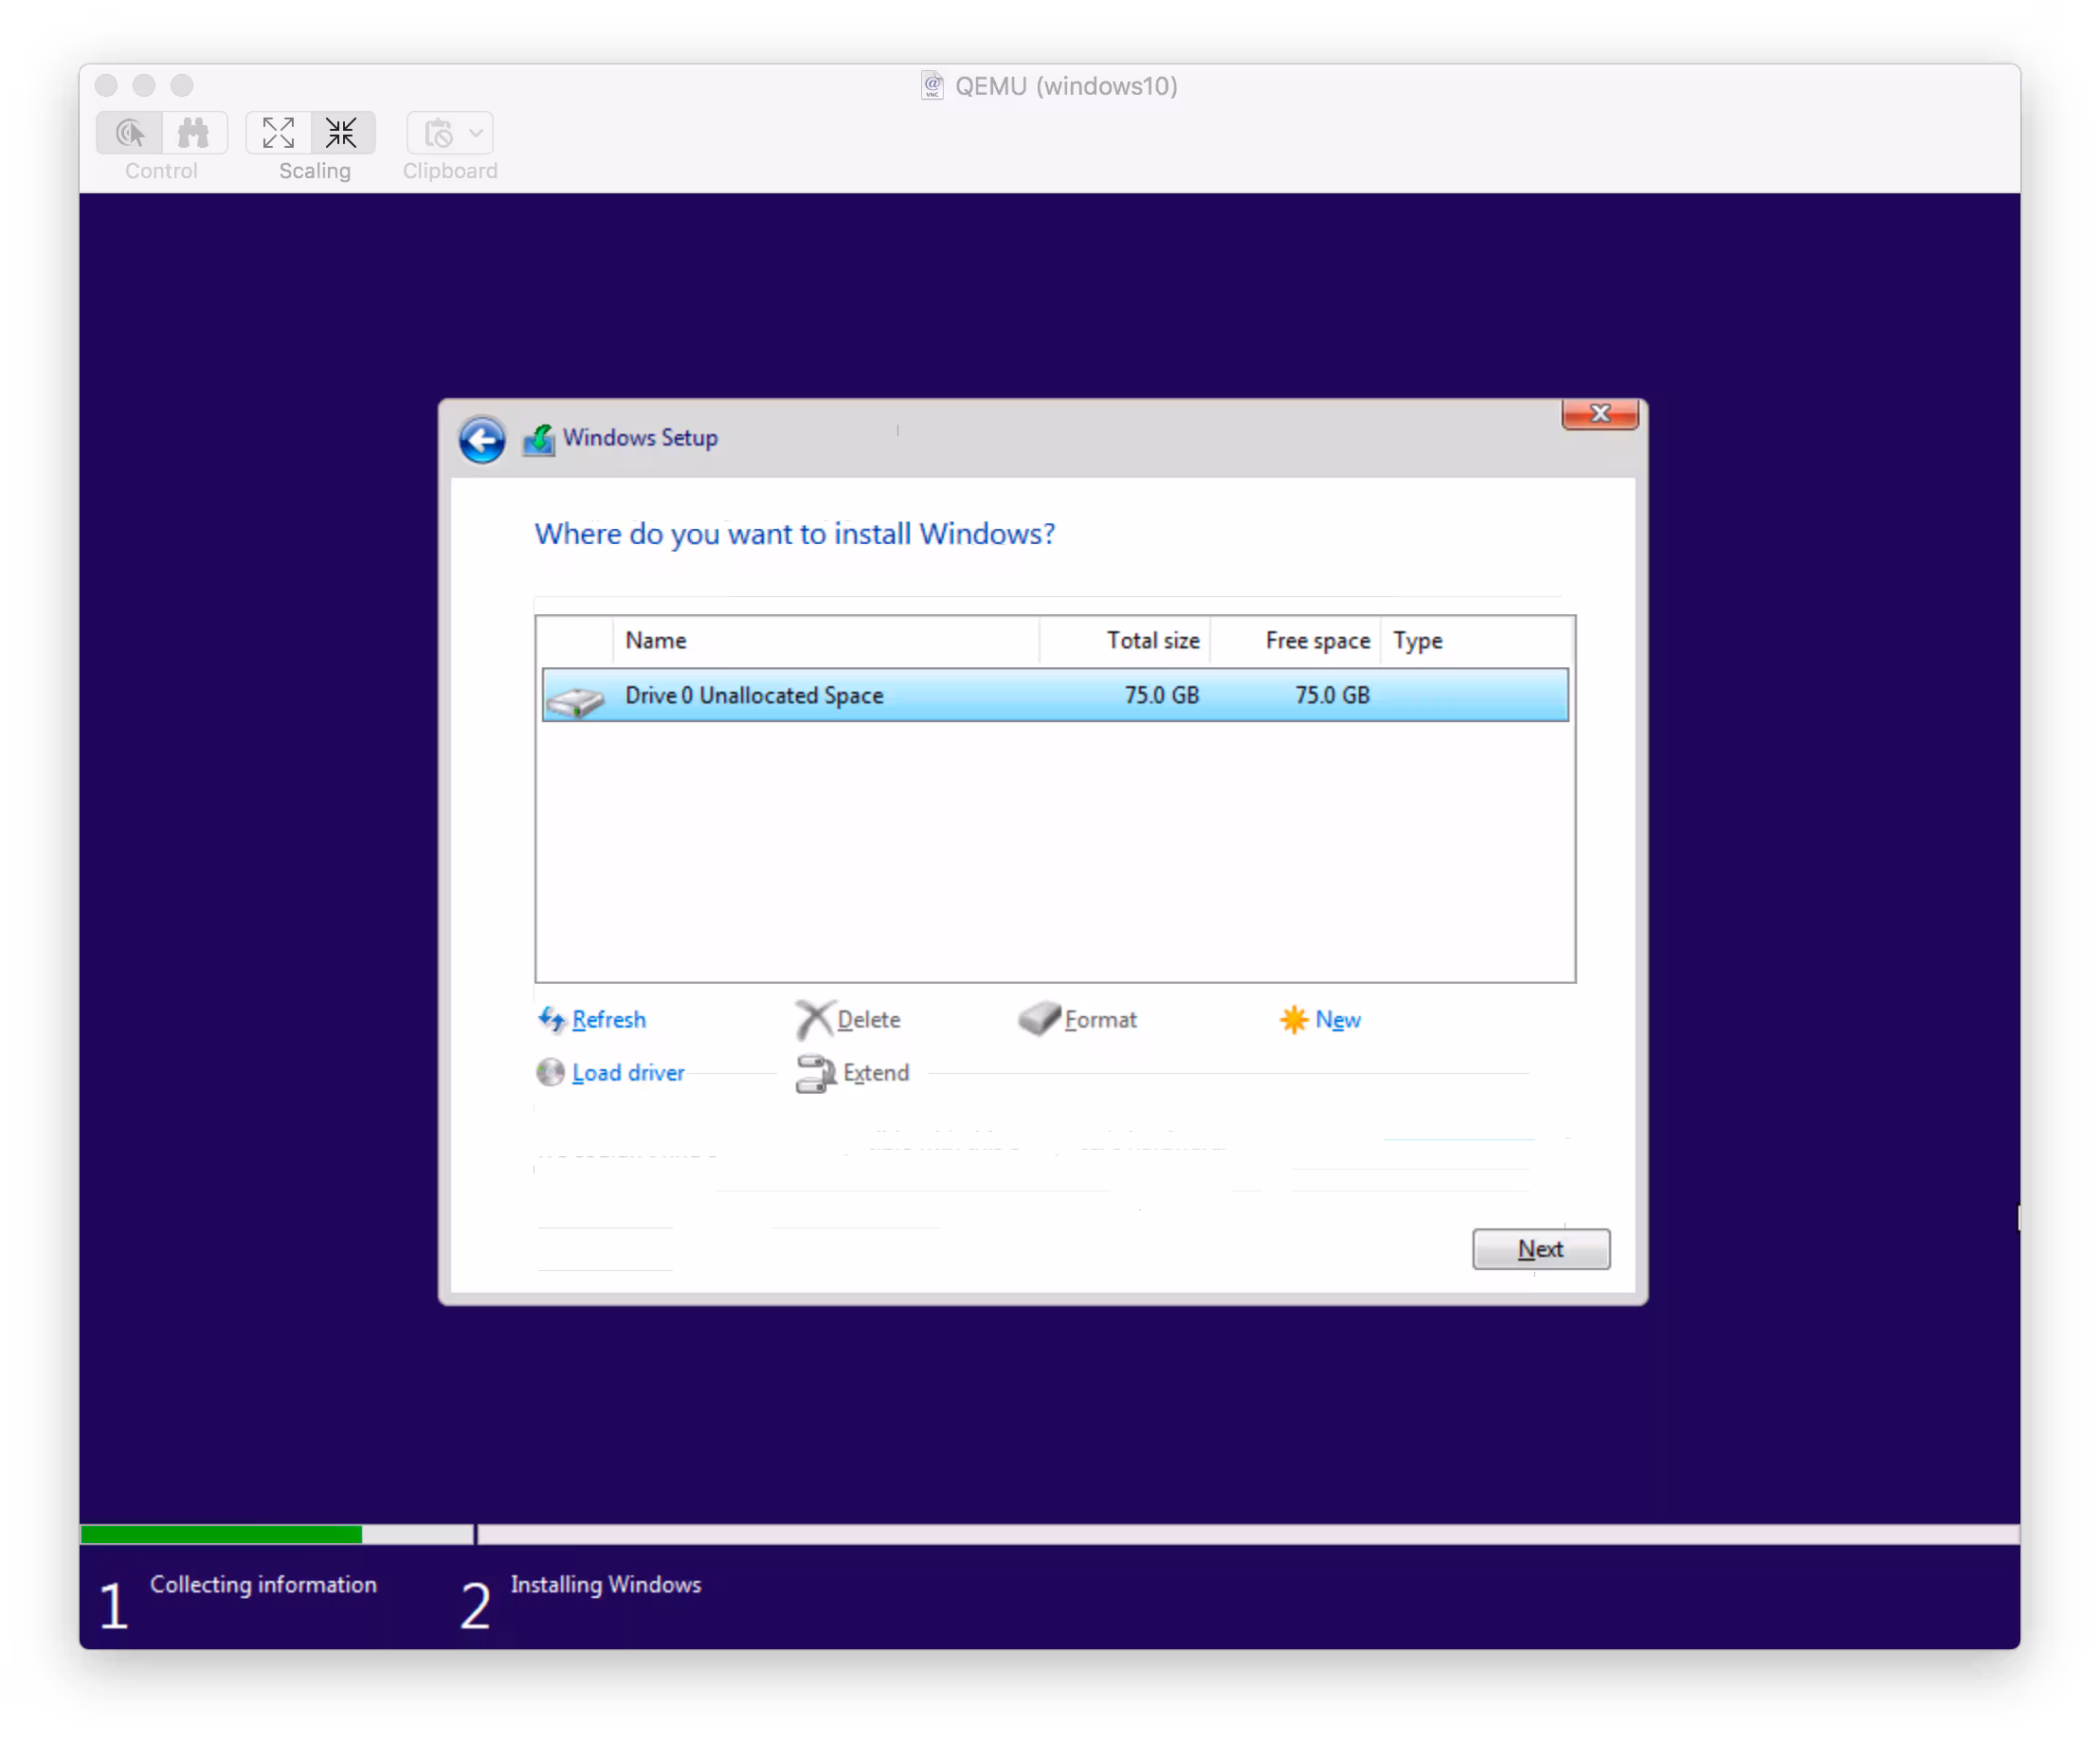
Next steps
Once the installer finishes and you get into Windows you may want to do a few more things
- Install the other drivers on the virtio-win ISO (network, etc…)
- Apply Updates
- Enable RDP